什么是門戶網(wǎng)站廣告我想自己建立一個(gè)網(wǎng)站
Hadoop 之 Hive 搭建與使用
- 一.Hive 簡(jiǎn)介
- 二.Hive 搭建
- 1.下載
- 2.安裝
- 1.解壓并配置 HIVE
- 2.修改 hive-site.xml
- 3.修改 hadoop 的 core-site.xml
- 4.啟動(dòng)
- 三.Hive 測(cè)試
- 1.基礎(chǔ)測(cè)試
- 2.建庫(kù)建表
- 3.Java 連接測(cè)試
- 1.Pom依賴
- 2.Yarm 配置文件
- 3.啟動(dòng)類
- 4.配置類
- 5.測(cè)試類
一.Hive 簡(jiǎn)介
Hive 是基于 Hadoop 的數(shù)據(jù)倉(cāng)庫(kù)工具,可以提供類 SQL 查詢能力
二.Hive 搭建
1.下載
Hive 官網(wǎng)
Hive 下載地址(自選版本)

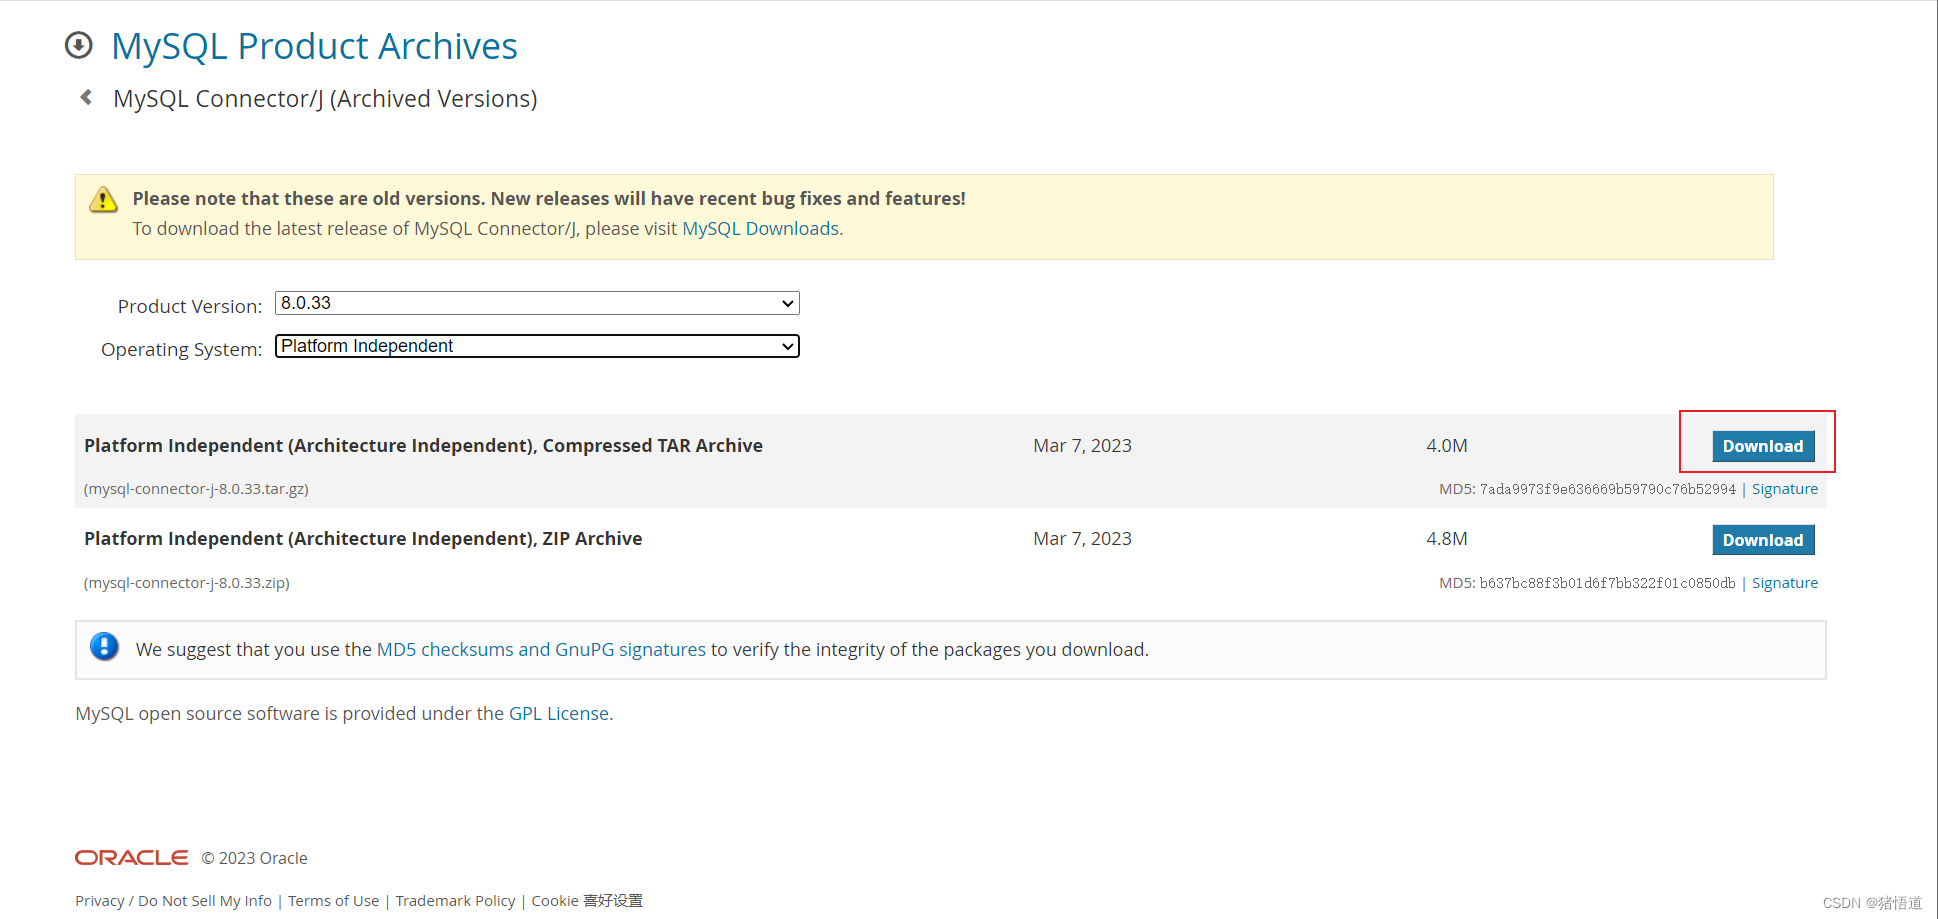
MySQL Java 驅(qū)動(dòng)下載
2.安裝
1.解壓并配置 HIVE
## 1.創(chuàng)建安裝目錄
mkdir -p /usr/local/hive
## 2.將壓縮包拷貝到服務(wù)器并解壓
tar zxvf apache-hive-4.0.0-alpha-2-bin.tar.gz -C /usr/local/hive/
## 3.添加環(huán)境變量并刷新
echo 'export HIVE_HOME=/usr/local/hive/apache-hive-4.0.0-alpha-2-bin' >> /etc/profile
echo 'export PATH=${HIVE_HOME}/bin:${PATH}' >> /etc/profile
source /etc/profile
## 4.進(jìn)入安裝目錄
cd $HIVE_HOME/conf
## 5.復(fù)制 hive-env.sh.template 并修改配置
cp hive-env.sh.template hive-env.sh
echo 'export JAVA_HOME=/usr/local/java/jdk-11.0.19' >> hive-env.sh
echo 'export HADOOP_HOME=/usr/local/hadoop/hadoop-3.3.6' >> hive-env.sh
echo 'export HADOOP_CONF_DIR=${HADOOP_HOME}/etc/hadoop' >> hive-env.sh
echo 'export HIVE_HOME=/usr/local/hive/apache-hive-4.0.0-alpha-2-bin' >> hive-env.sh
echo 'export HIVE_CONF_DIR=${HIVE_HOME}/conf' >> hive-env.sh
echo 'export HIVE_AUX_JARS_PATH=${HIVE_HOME}/lib' >> hive-env.sh
## 6.復(fù)制 mysql-connector-j-8.0.33.jar 到 ${HIVE_HOME}/lib
tar zxvf mysql-connector-j-8.0.33.tar.gz
cp mysql-connector-j-8.0.33/mysql-connector-j-8.0.33.jar ${HIVE_HOME}/lib/
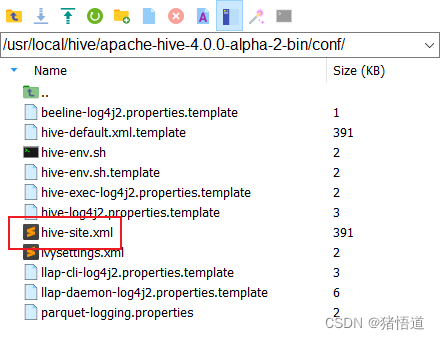
## 7.復(fù)制 cp hive-default.xml.template 并修改配置
cp hive-default.xml.template hive-site.xml
2.修改 hive-site.xml
使用 MobaXterm 連接虛擬機(jī),并用文本編輯工具打開(kāi) hive-site.xml 修改:
注釋掉同名的默認(rèn)配置,或參考下面信息,直接修改默認(rèn)配置值
同時(shí)全局替換下面兩個(gè)變量值,避免 hiveserver2 啟動(dòng)報(bào)錯(cuò)
1.${system:java.io.tmpdir} => /tmp (Linux 系統(tǒng)默認(rèn)的臨時(shí)目錄)
2.${system:user.name} => root (本系統(tǒng)當(dāng)前操作用戶名)
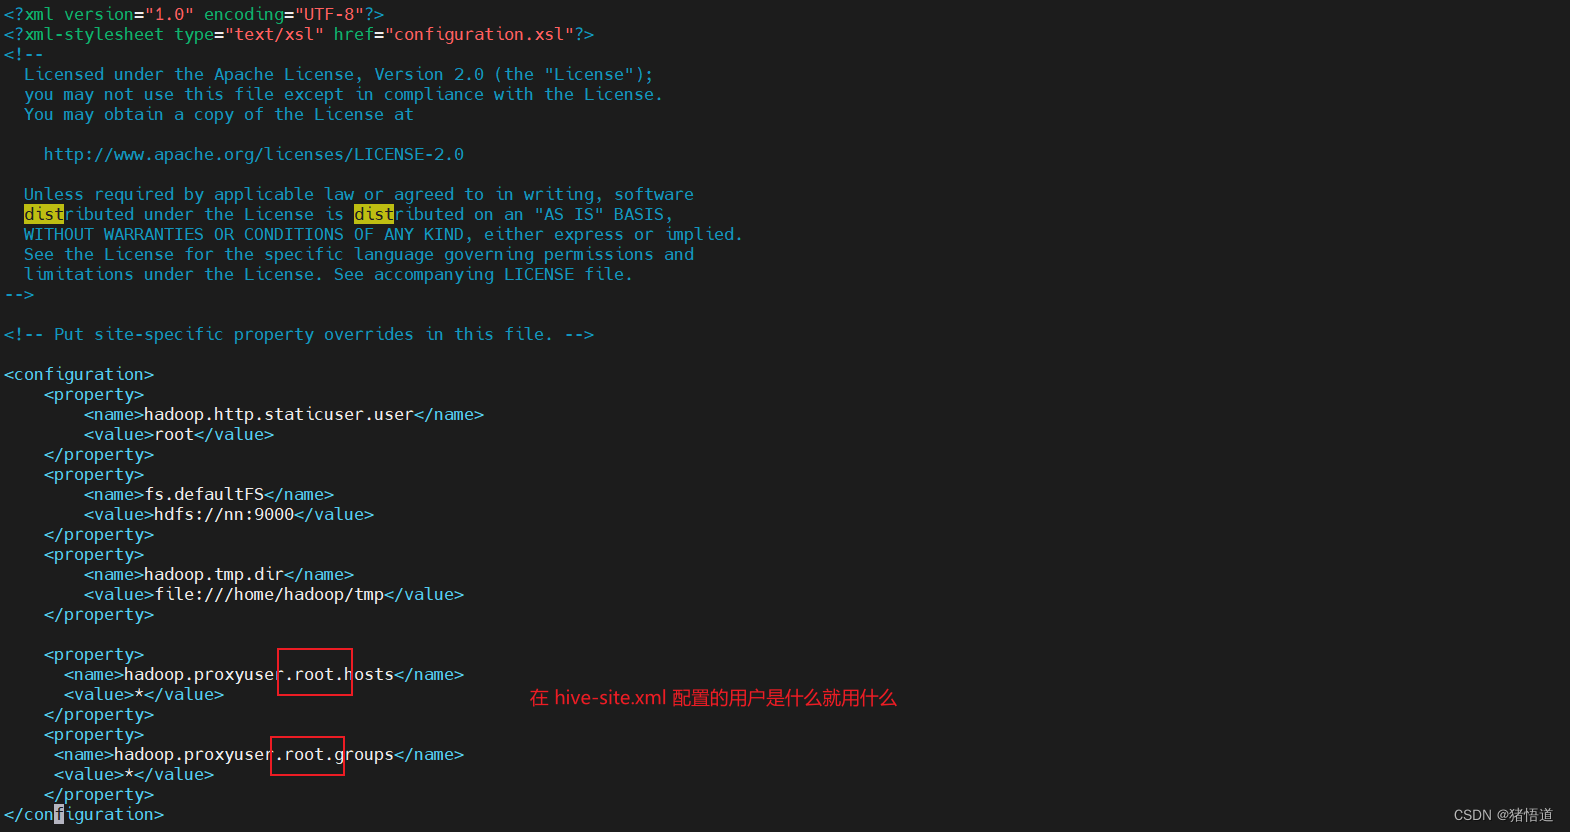
3.hive.server2.thrift.client.user 配置用戶 root , 同時(shí)需要修改 hadoop 的 core-site.xml 為 root 配置代理信息
4.hadoop 集群搭建參考前面文章
<!--配置 Hive Metastore 此處使用 mysql & 轉(zhuǎn)義 &--><property><name>javax.jdo.option.ConnectionURL</name><value>jdbc:mysql://192.168.1.201:3306/hive?characterEncoding=UTF8&createDatabaseIfNotExist=true&serverTimezone=GMT%2B8&useSSL=false&allowPublicKeyRetrieval=true</value></property><property><name>javax.jdo.option.ConnectionDriverName</name><value>com.mysql.cj.jdbc.Driver</value></property><property><name>javax.jdo.option.ConnectionUserName</name><value>admin</value></property><property><name>javax.jdo.option.ConnectionPassword</name><value>12345678</value></property><property><name>datanucleus.schema.autoCreateAll</name><value>true</value></property><!-- nn 配置主機(jī)地址/用戶/密碼 --><property><name>hive.server2.thrift.bind.host</name><value>nn</value></property><property><name>hive.server2.thrift.client.user</name><value>root</value><description>Username to use against thrift client. default is 'anonymous'</description></property><property><name>hive.server2.thrift.client.password</name><value>123456</value><description>Password to use against thrift client. default is 'anonymous'</description></property> <property><name>hive.metastore.event.db.notification.api.auth</name><value>false</value></property><property><name>hive.server2.active.passive.ha.enable</name><value>true</value></property><property><name>hive.metastore.warehouse.dir</name><value>hdfs://nn:9000/user/hive/warehouse</value><description>hdfs 地址</description></property><property><name>hive.metastore.schema.verification</name><value>true</value></property><property><name>hive.metastore.uris</name><value>thrift://nn:9083</value></property>
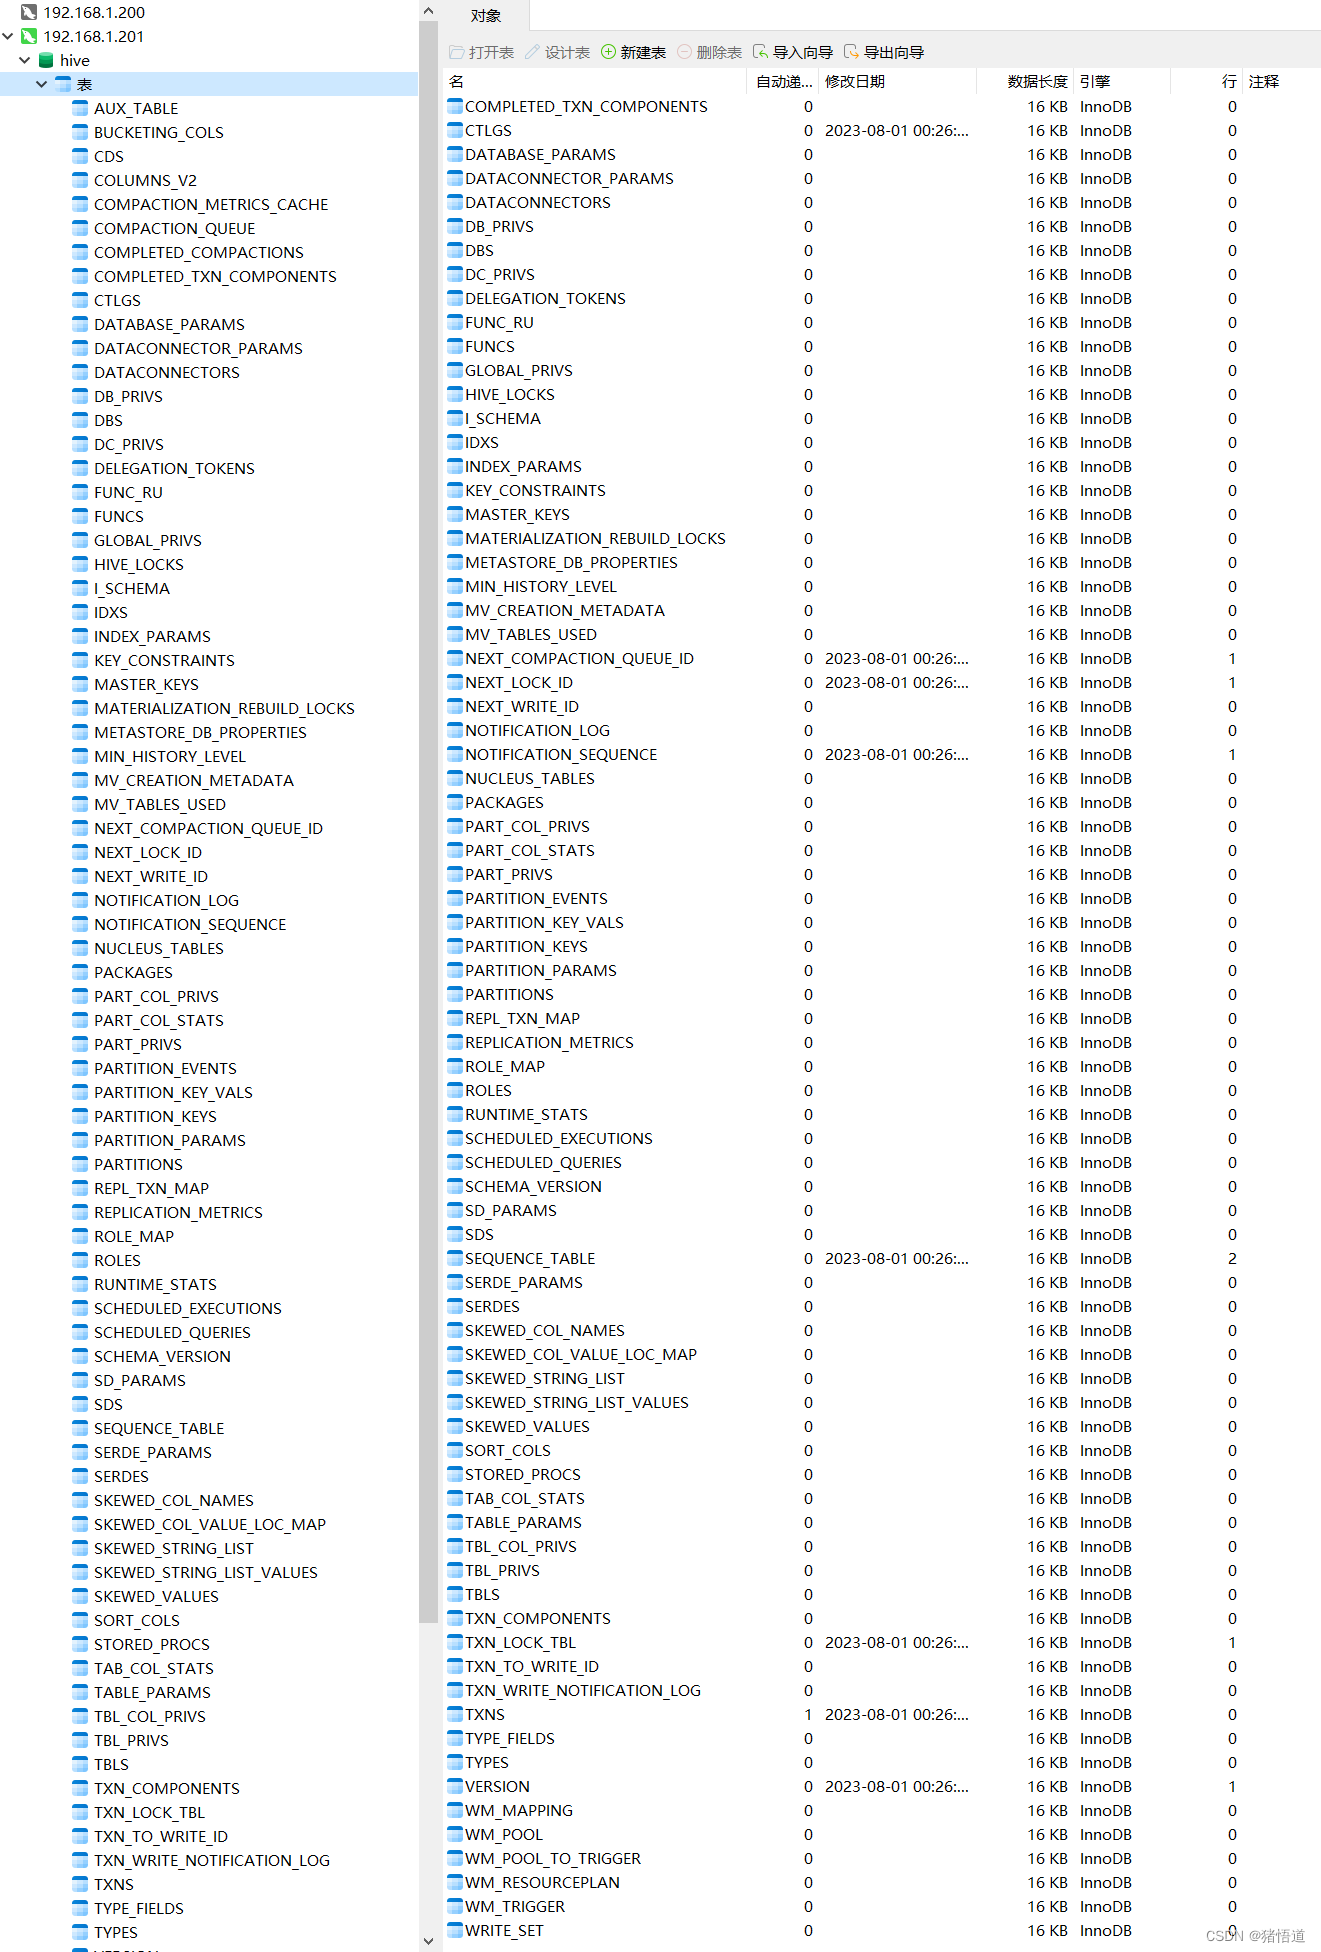
初始化元數(shù)據(jù)

查看庫(kù) Hive
3.修改 hadoop 的 core-site.xml
## 1.進(jìn)入配置目錄
cd $HADOOP_HOME//etc/hadoop
## 2.修改 core-site.xml
vim core-site.xml
## 3.增加以下內(nèi)容<property><name>hadoop.proxyuser.root.hosts</name><value>*</value></property><property><name>hadoop.proxyuser.root.groups</name><value>*</value></property>
4.啟動(dòng)
## 1.初始化
schematool -initSchema -dbType mysql
## 2.啟動(dòng) hadoop 集群
cd $HADOOP_HOME/sbin && start-all.sh
## 3.啟動(dòng) hive
mkdir -p /var/log/hive
cd ${HIVE_HOME}/bin
nohup hive --service metastore 2>&1 >> /var/log/hive/metastore.log &
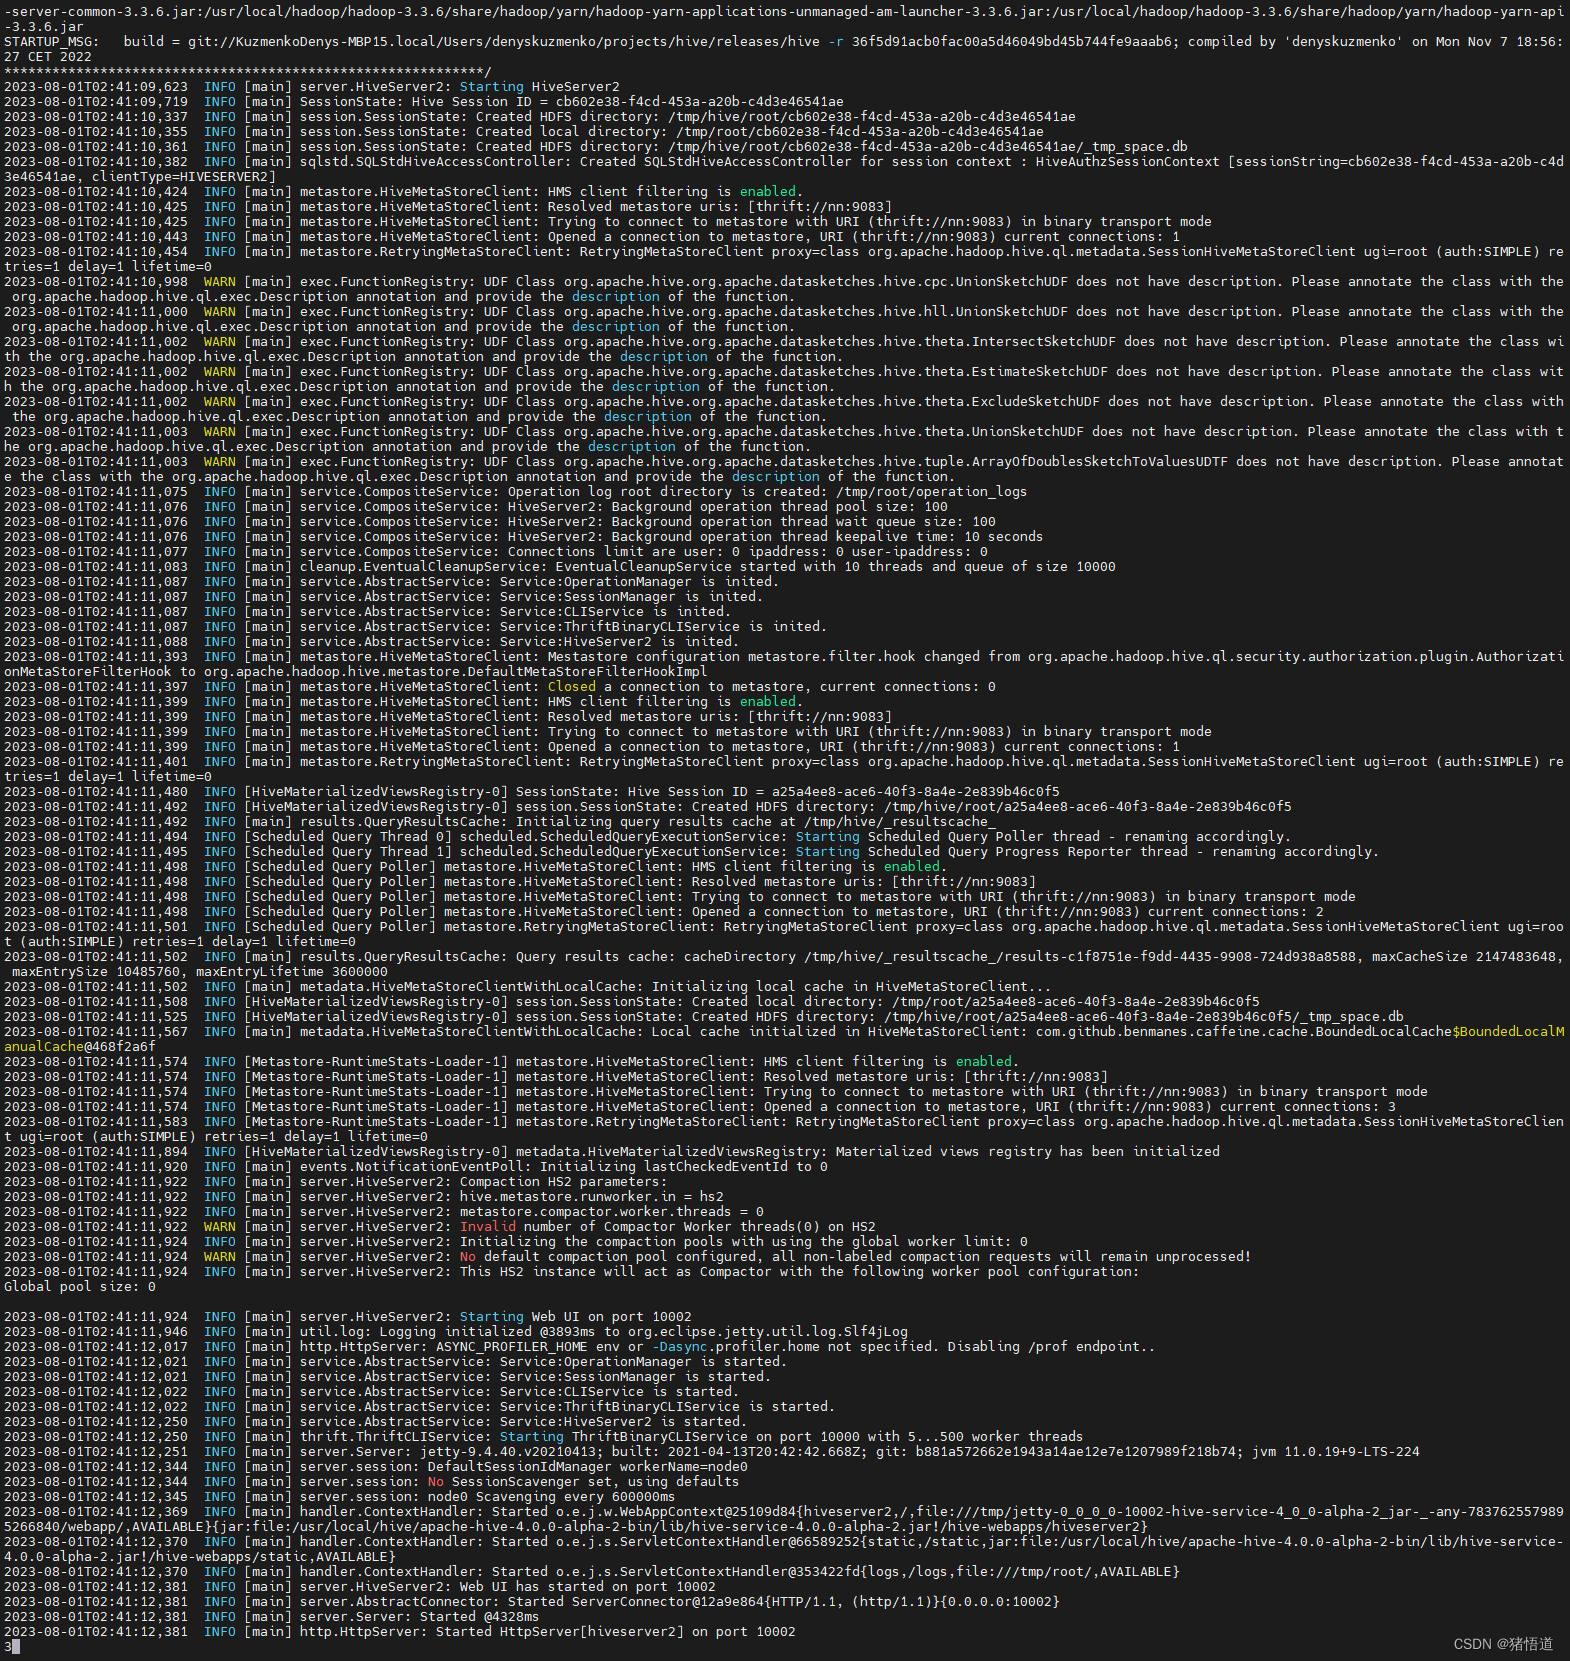
nohup hive --service hiveserver2 2>&1 >> /var/log/hive/hiveserver2.log &## 4.殺死 hive 進(jìn)程
kill -9 `ps aux | grep hiveserver2 | grep -v grep | awk '{print $2}'`
kill -9 `ps aux | grep metastore | grep -v grep | awk '{print $2}'`
查看 Java 進(jìn)程:jps

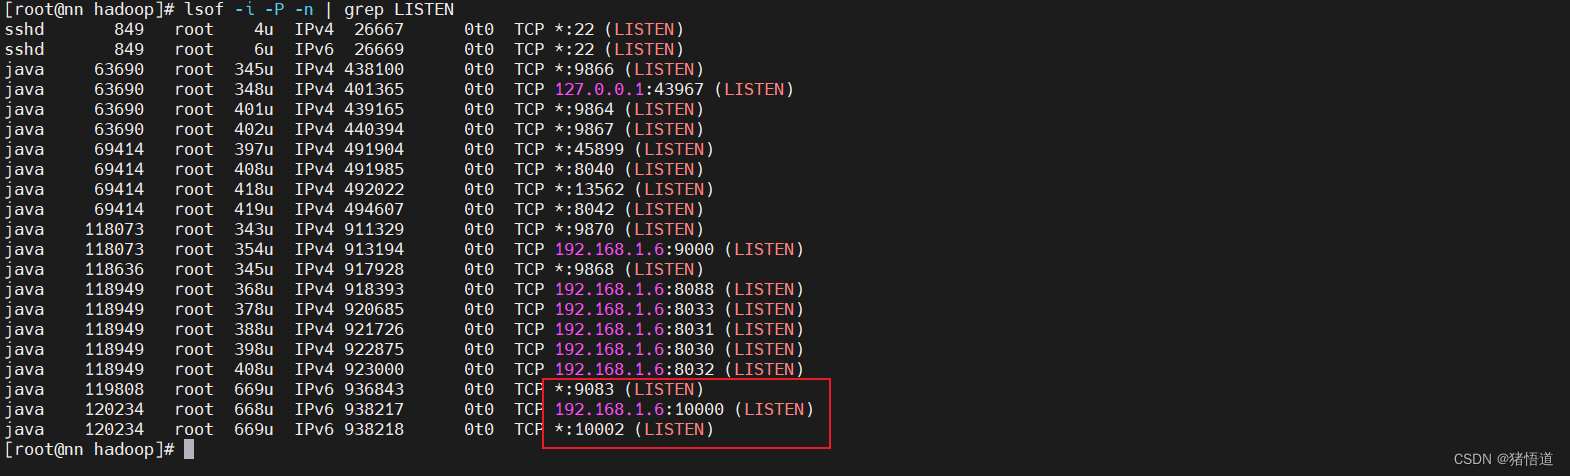
查看端口占用:lsof -i -P -n | grep LISTEN
查看默認(rèn)日志:tail -200f /tmp/root/hive.log
日志發(fā)現(xiàn)一個(gè)報(bào)錯(cuò):java.sql.SQLException: Referencing column 'ACTIVE_EXECUTION_ID' and referenced column 'SCHEDULED_EXECUTION_ID' in foreign key constraint 'SCHEDULED_EXECUTIONS_SCHQ_ACTIVE' are incompatible.
因?yàn)?MySQL 版本為 8.0.33,可能導(dǎo)致了主外鍵字段類型不一致時(shí)的異常
對(duì)應(yīng)初始化后的表和字段分別為:
SCHEDULED_EXECUTIONS - SCHEDULED_EXECUTION_ID
SCHEDULED_QUERIES    - ACTIVE_EXECUTION_ID
原來(lái)這兩個(gè)字段一個(gè)為 int ,一個(gè)為 bigint 統(tǒng)一為 bigint 后就不報(bào)錯(cuò)了
三.Hive 測(cè)試
1.基礎(chǔ)測(cè)試
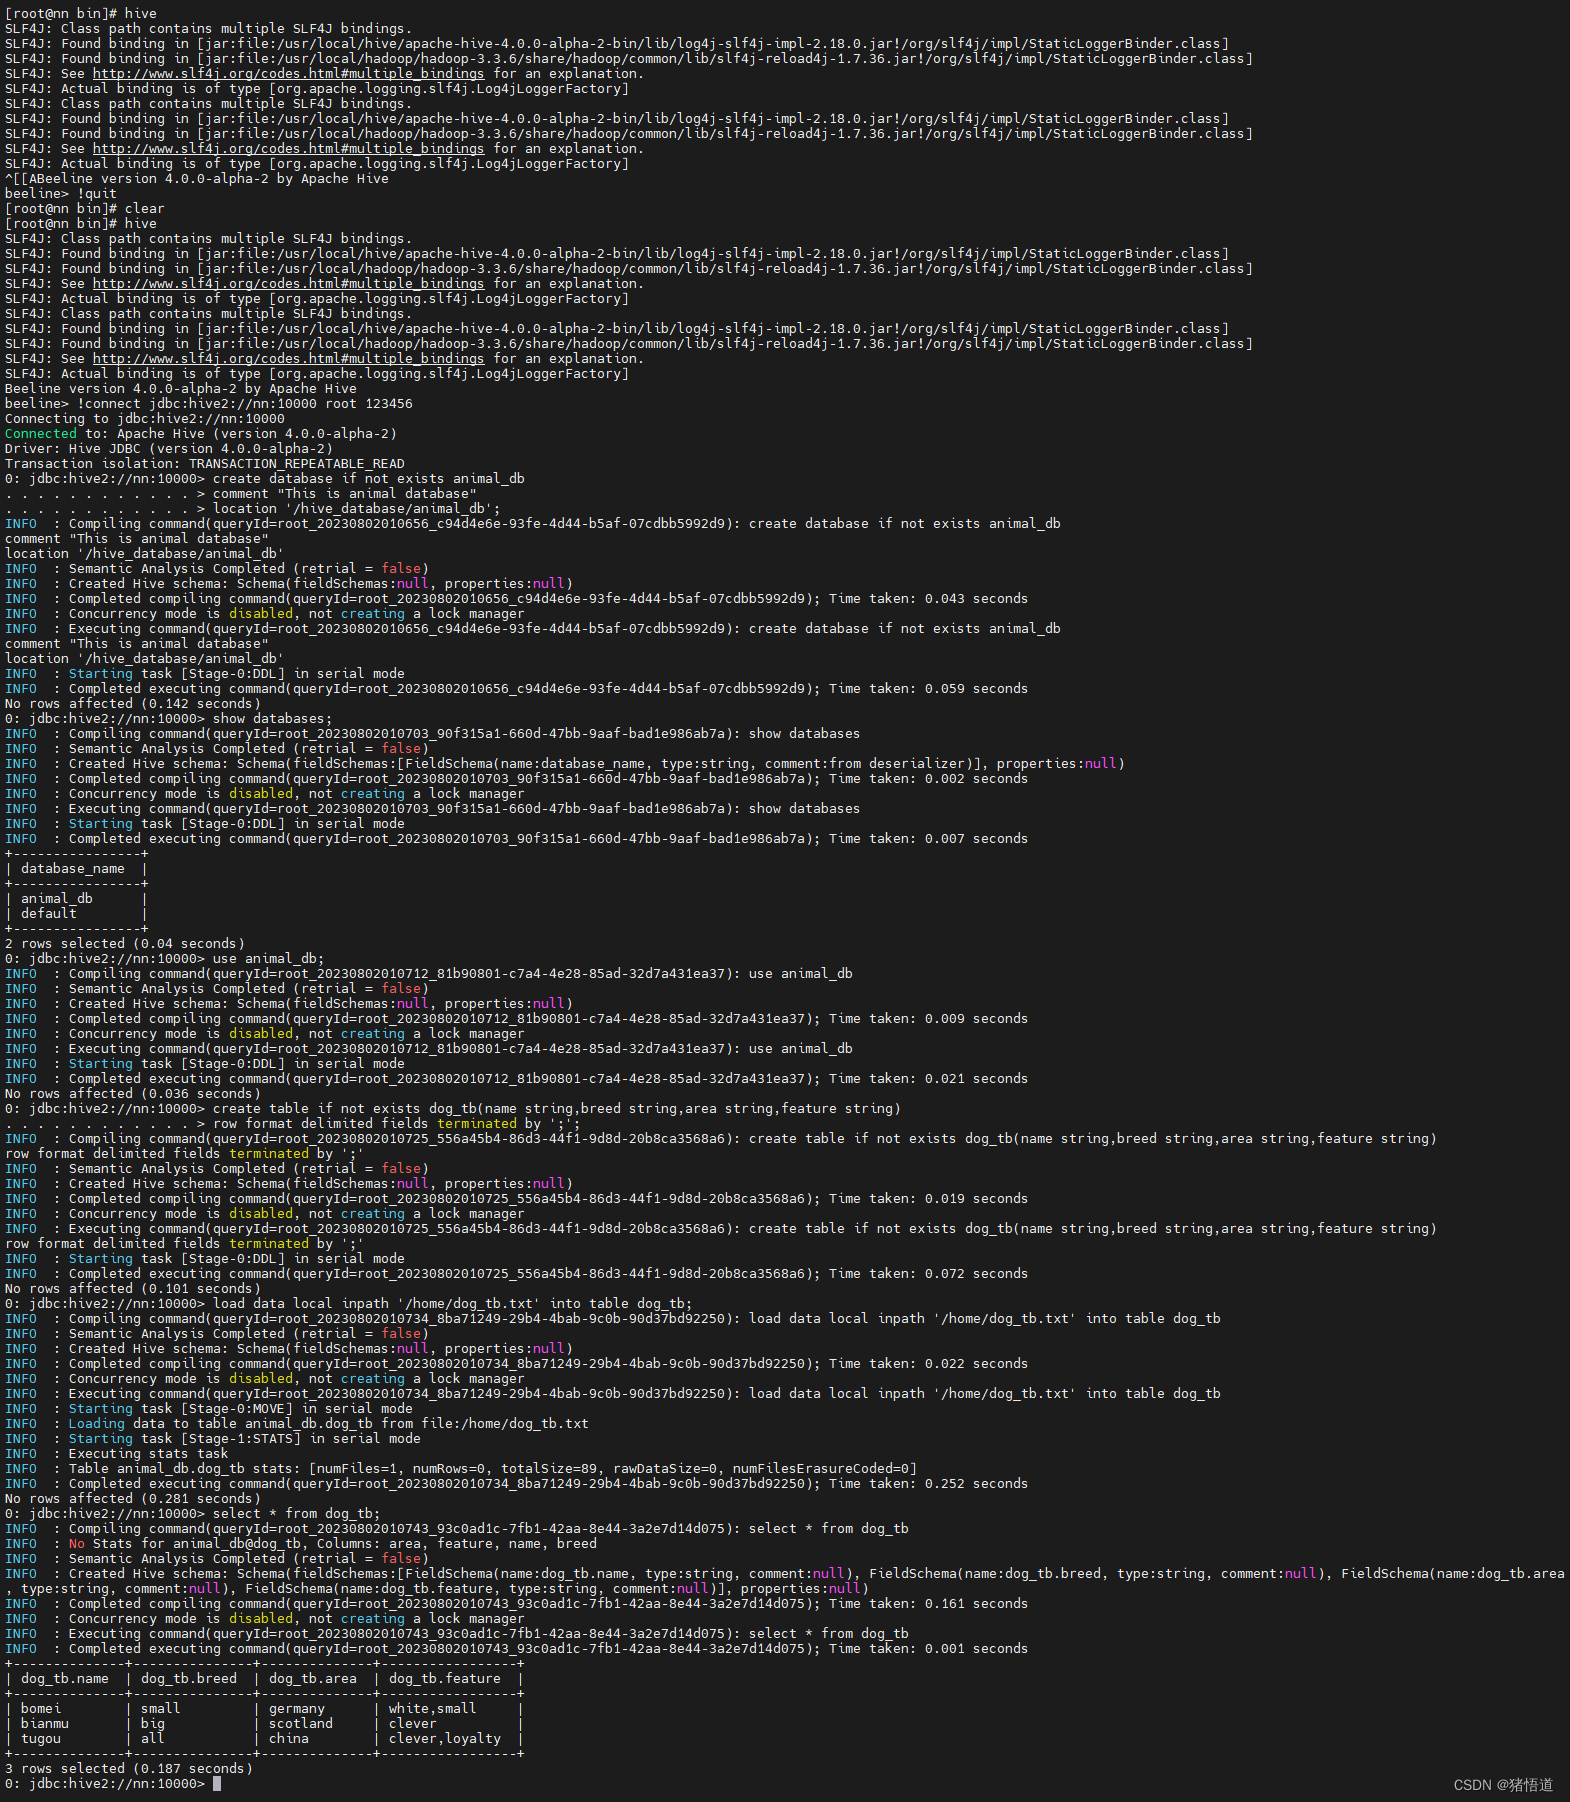
## 1.控制臺(tái)連接
hive
## 2.連接并輸入用戶名、密碼
!connect jdbc:hive2://nn:10000
## 3.查看庫(kù)
show databases;
## 4.退出
!quit

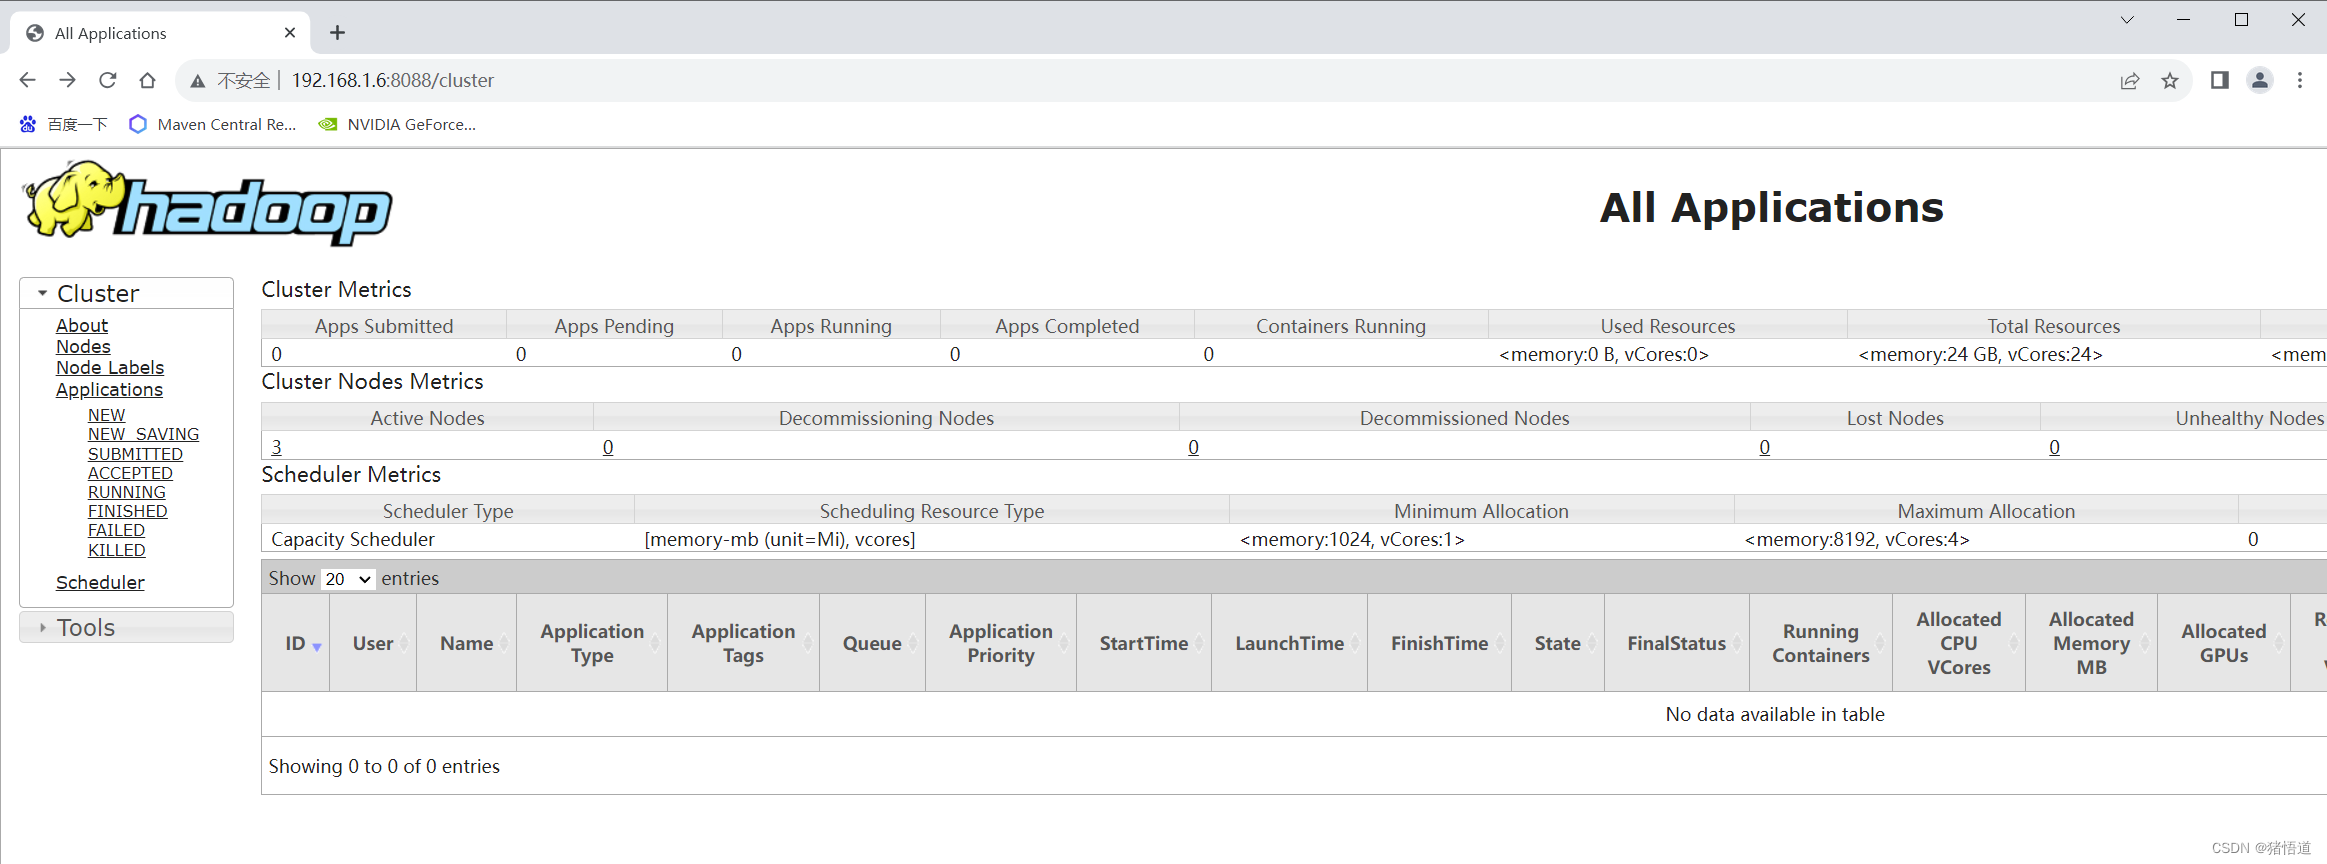
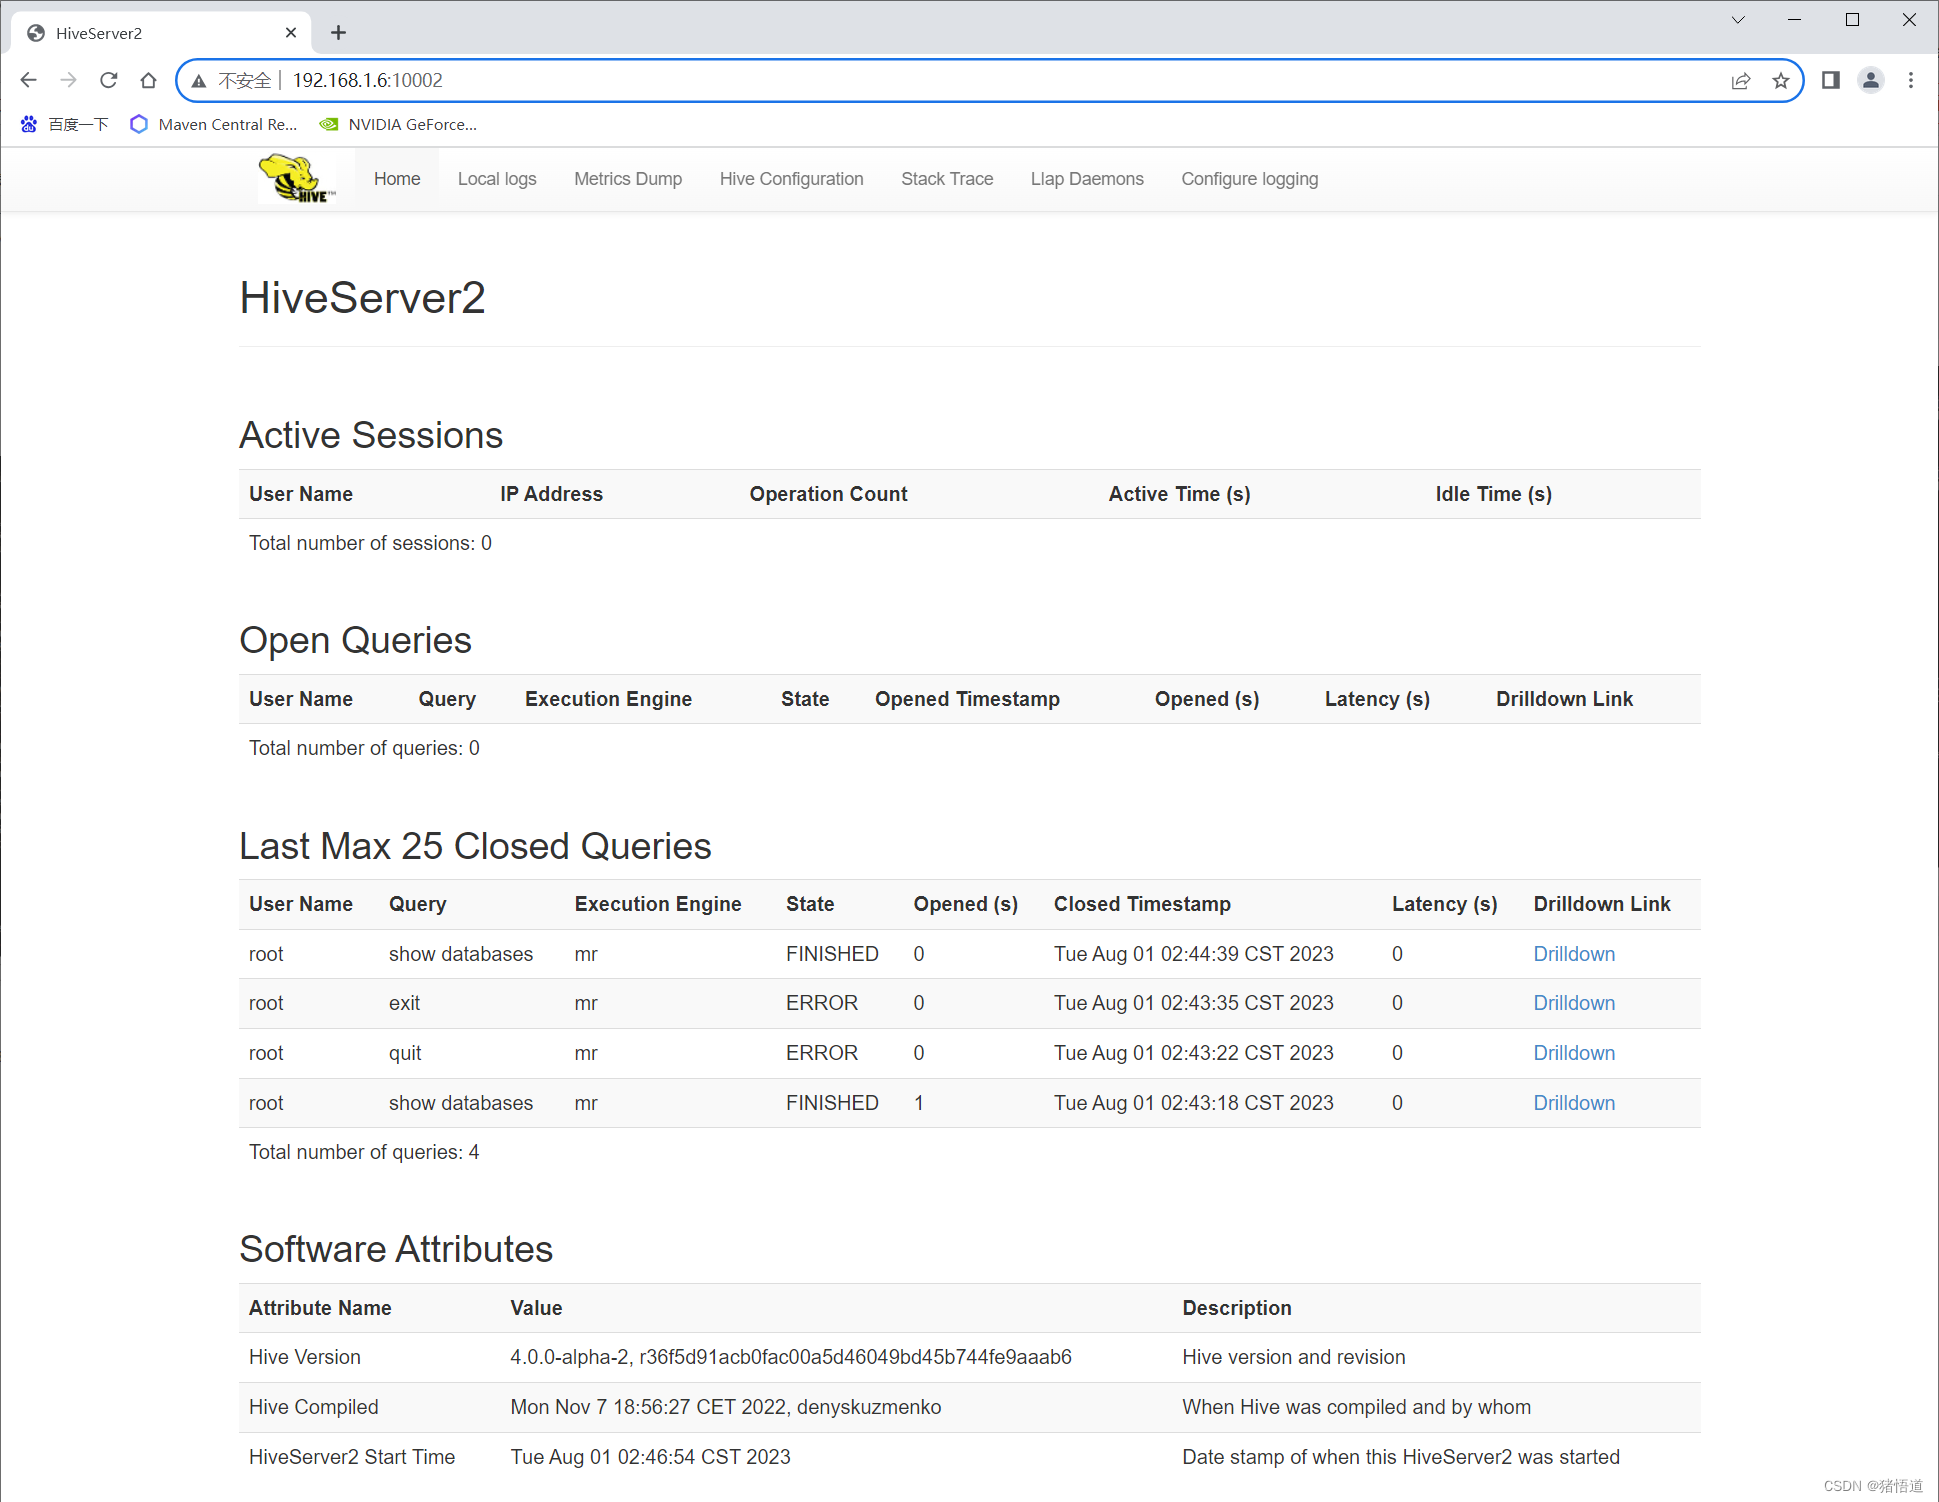
UI 訪問(wèn):http://192.168.1.6:10002/
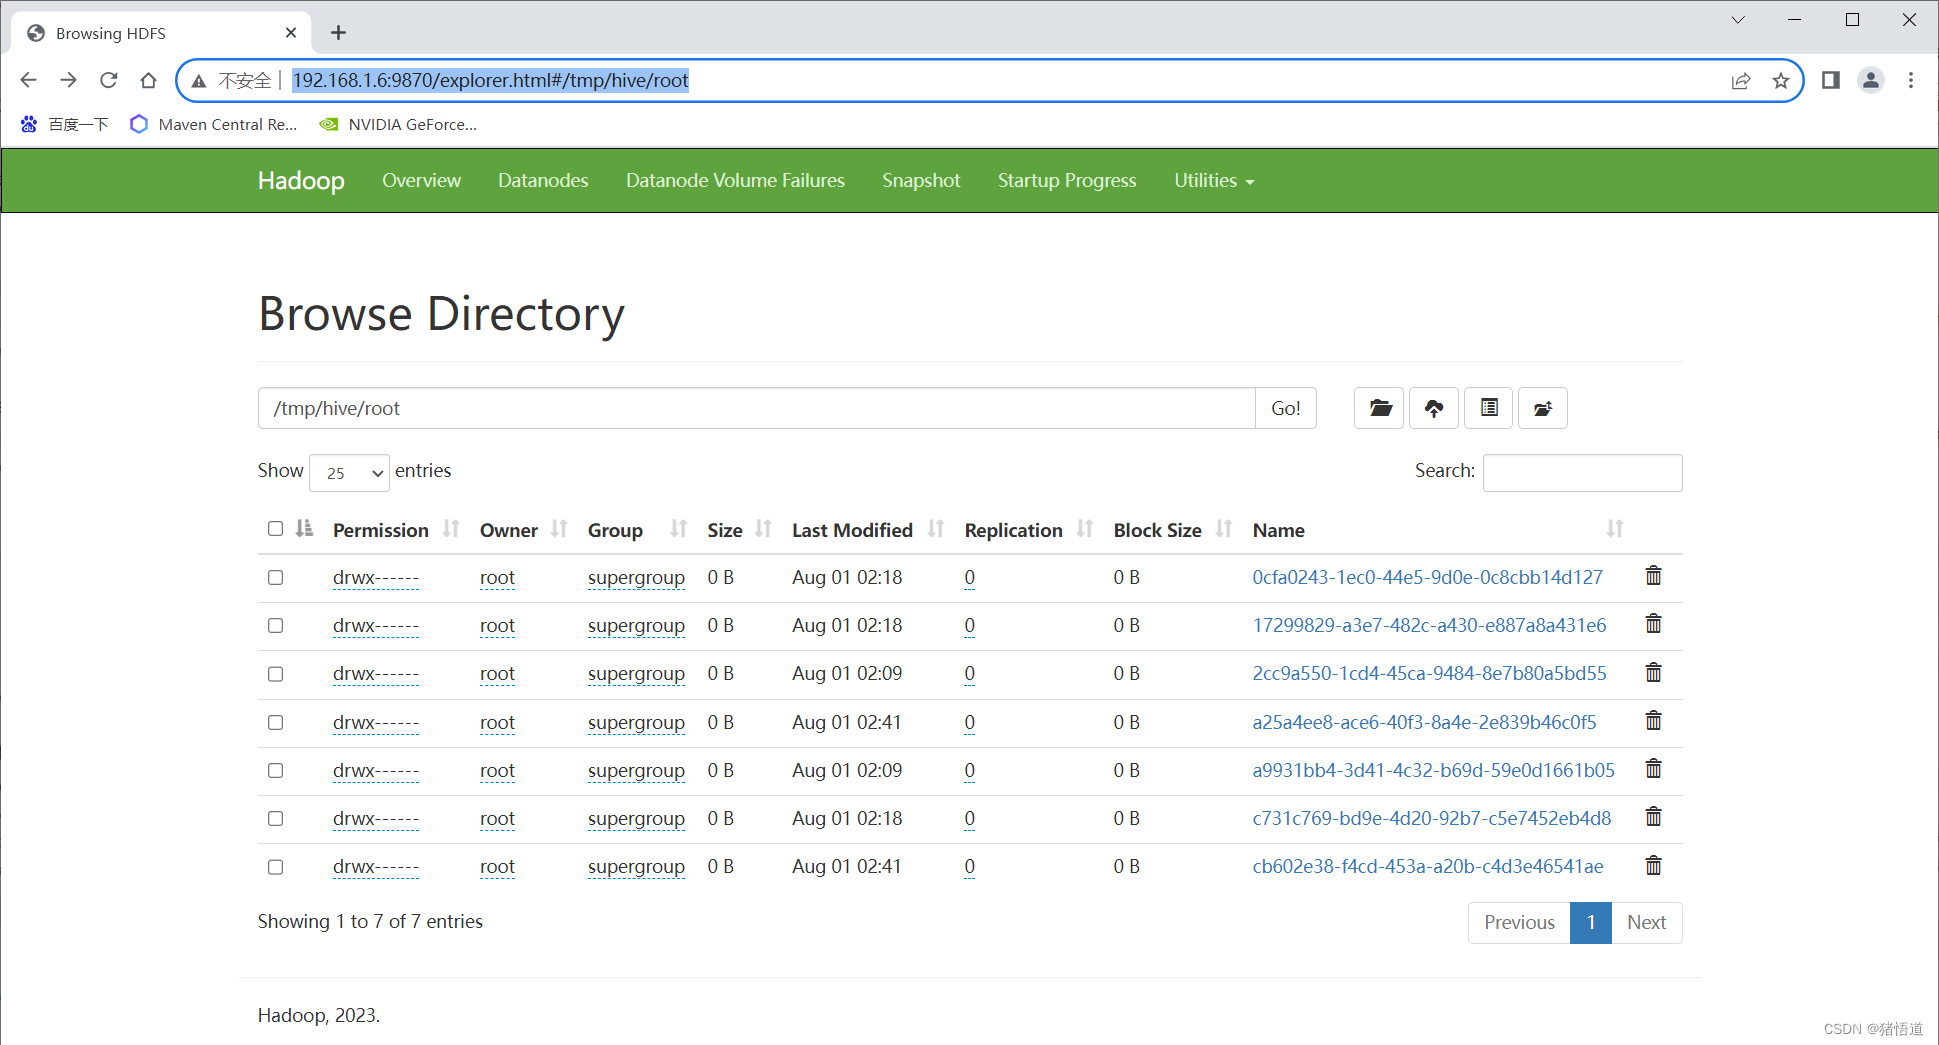
hdfs 查看: http://192.168.1.6:9870/explorer.html#/tmp/hive/root
2.建庫(kù)建表
## 1.建庫(kù)并設(shè)置存儲(chǔ)位置
create database if not exists animal_db
comment "This is animal database"
location '/hive_database/animal_db';
## 2.查看庫(kù)
show databases;
## 3.切換庫(kù)
use animal_db;
## 4.創(chuàng)建表
create table if not exists dog_tb(name string,breed string,area string,feature string)
row format delimited fields terminated by ';';
## 5.從本地文件加載數(shù)據(jù)
load data local inpath '/home/dog_tb.txt' into table dog_tb;
## 6.查看數(shù)據(jù)
select * from dog_tb;
## 7.刪除表
drop table dog_tb;
## 7.強(qiáng)制刪庫(kù)
drop database animal_db cascade ;

dog_tb.txt
bomei;small;germany;white,small
bianmu;big;scotland;clever
tugou;all;china;clever,loyalty
3.Java 連接測(cè)試
1.Pom依賴
<?xml version="1.0" encoding="UTF-8"?>
<project xmlns="http://maven.apache.org/POM/4.0.0"xmlns:xsi="http://www.w3.org/2001/XMLSchema-instance"xsi:schemaLocation="http://maven.apache.org/POM/4.0.0 http://maven.apache.org/xsd/maven-4.0.0.xsd"><modelVersion>4.0.0</modelVersion><groupId>org.example</groupId><artifactId>hive-demo</artifactId><version>1.0-SNAPSHOT</version><properties><maven.compiler.source>11</maven.compiler.source><maven.compiler.target>11</maven.compiler.target><spring.version>2.7.8</spring.version><project.build.sourceEncoding>UTF-8</project.build.sourceEncoding></properties><dependencies><dependency><groupId>org.springframework.boot</groupId><artifactId>spring-boot-starter-web</artifactId><version>${spring.version}</version></dependency><dependency><groupId>org.projectlombok</groupId><artifactId>lombok</artifactId><version>1.18.28</version></dependency><dependency><groupId>com.alibaba</groupId><artifactId>fastjson</artifactId><version>2.0.32</version></dependency><dependency><groupId>org.apache.hive</groupId><artifactId>hive-jdbc</artifactId><version>4.0.0-alpha-2</version></dependency><dependency><groupId>org.apache.hadoop</groupId><artifactId>hadoop-common</artifactId><version>3.3.6</version></dependency></dependencies></project>
2.Yarm 配置文件
config:hivedriverClassName: org.apache.hive.jdbc.HiveDriverhiveurl: jdbc:hive2://192.168.1.6:10000/animal_dbhiveusername: roothivepassword: 123456
3.啟動(dòng)類
package org.example;import org.springframework.boot.SpringApplication;
import org.springframework.boot.autoconfigure.SpringBootApplication;/*** @author Administrator*/
@SpringBootApplication
public class HiveApp {public static void main(String[] args) {//啟動(dòng)觸發(fā)SpringApplication.run(HiveApp.class,args);}
}
4.配置類
package org.example.config;import org.springframework.beans.factory.annotation.Qualifier;
import org.springframework.boot.context.properties.ConfigurationProperties;
import org.springframework.context.annotation.Bean;
import org.springframework.stereotype.Component;import java.sql.Connection;
import java.sql.DriverManager;
import java.util.Properties;/*** @author Administrator* @Description* @create 2023-08-02 21:42*/
@Component
public class HiveConfig {@Bean("hiveProperties")@ConfigurationProperties(prefix = "config")public Properties getConfig(){return new Properties();}@Beanpublic Connection start(@Qualifier("hiveProperties") Properties properties){try {String url = (String) properties.get("hiveurl");String user = (String) properties.get("hiveusername");String password = (String) properties.get("hivepassword");Connection conn = DriverManager.getConnection(url,user,password);conn.setAutoCommit(true);return conn;} catch (Exception e) {System.out.println(e);}return null;}
}
5.測(cè)試類
package org.example.controller;import lombok.extern.slf4j.Slf4j;
import org.apache.commons.lang.StringUtils;
import org.apache.hive.jdbc.HivePreparedStatement;
import org.springframework.beans.factory.annotation.Autowired;
import org.springframework.web.bind.annotation.GetMapping;
import org.springframework.web.bind.annotation.RequestMapping;
import org.springframework.web.bind.annotation.RestController;import java.sql.Connection;
import java.sql.ResultSet;
import java.sql.SQLException;
import java.util.ArrayList;
import java.util.Arrays;
import java.util.List;/*** @author Administrator* @Description* @create 2023-08-02 21:42*/
@Slf4j
@RestController
@RequestMapping("/hive")
public class HiveController {/*** 注入連接類*/@AutowiredConnection conn;/*** 列*/List<String> columns = Arrays.asList("name","breed","area","feature");/*** 插入* @throws SQLException*/@GetMapping("/insert")public void insert() throws SQLException {String sql = "insert into dog_tb values (?,?,?,?)";HivePreparedStatement pStSm= (HivePreparedStatement) conn.prepareStatement(sql);pStSm.setString(1, "keji");pStSm.setString(2, "small");pStSm.setString(3, "welsh");pStSm.setString(4, "friendly");pStSm.executeUpdate();}/*** 查詢* @return* @throws SQLException*/@GetMapping("/query")public List<String> query(int index,String value) throws SQLException {List<String> list = new ArrayList<>();String sql = "select * from dog_tb";if (index > 0 && StringUtils.isNotEmpty(value)){sql = "select * from dog_tb where name = ?";}HivePreparedStatement pStSm= (HivePreparedStatement) conn.prepareStatement(sql);if (index >= 0 && StringUtils.isNotEmpty(value)){pStSm.setString(index, value);}ResultSet resultSet = pStSm.executeQuery();StringBuilder builder = new StringBuilder();while (resultSet.next()){builder.setLength(0);for (String col:columns){builder.append(resultSet.getString(col)).append(";");}String result = builder.substring(0,builder.length()-1);list.add(result);log.info("row: {}",result);}return list;}}

如果插入或查詢報(bào)錯(cuò)可通過(guò)如下位置查詢報(bào)錯(cuò)信息